
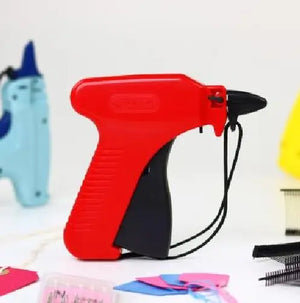

How to Load a Price Gun: A Simple Step-by-Step Guide
Knowing how to load a price gun correctly is essential for any retail business that relies on fast, accurate product labelling. Whether you are pricing new stock, running promotions, or relabelling reduced items, a correctly loaded price gun helps save time, reduce errors, and keep your shop floor running efficiently.
This guide explains how to load a price gun properly, using best practice advice suitable for most single line and two line pricing guns. It is written for retailers, warehouse teams, and stockroom staff who want a clear, reliable process that avoids wasted labels and downtime.
Why Correctly Loading a Price Gun Matters
A poorly loaded price gun can cause several issues:
-
Misaligned or missing prices
-
Jammed labels and wasted rolls
-
Slow labelling during busy periods
-
Inconsistent pricing presentation
Taking a few minutes to load your price gun correctly helps maintain professional labelling standards and improves retail efficiency.
What You Need Before You Start
Before loading your price gun, make sure you have:
-
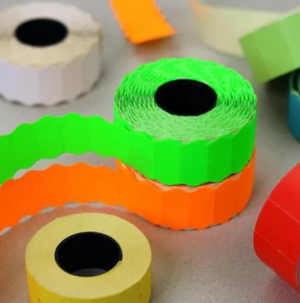
A compatible roll of labels
-
A working price gun suitable for the label size
-
Clean hands to avoid adhesive transfer
-
A flat surface to work on
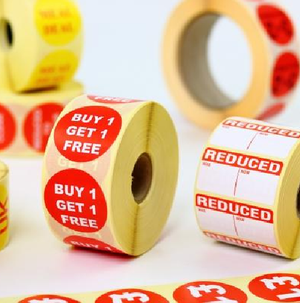
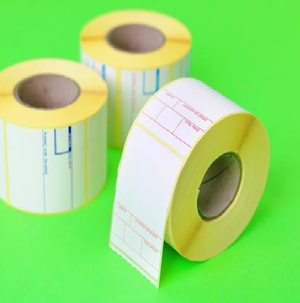
If you are unsure which labels are compatible, Price Gun Land offers a wide range of pre-printed labels and pricing guns designed to work together reliably.
Buy a Price Gun Starter Pack Here
Step-by-Step: How to Load a Price Gun
Step 1: Open the Price Gun
Most price guns open by gently lifting the top casing or pressing a release latch near the handle. Open the gun fully so you can access the label and ink roller compartments.
Avoid forcing the casing open, as this can damage internal components.
Step 2: Remove the Old Label Roll
If there is an existing roll inside the gun, carefully remove it along with any loose backing paper. Check for torn labels or adhesive residue and clear these away before loading a new roll.
This helps prevent jamming once the new labels are inserted.
Step 3: Insert the New Label Roll
Place the new label roll onto the spindle inside the price gun. The labels should unwind smoothly from the bottom of the roll.
Make sure the labels are facing the correct direction so the adhesive side will apply to products when dispensed.
Step 4: Thread the Labels Through the Gun
Pull the label backing through the internal guides, following the threading path shown inside the gun casing. Most pricing guns include simple diagrams to help with this step.
Feed the backing paper forward until the first label sits just beneath the printing or dispensing mechanism.
Step 5: Close the Price Gun
Once the labels are correctly threaded, gently close the price gun casing until it clicks shut. Do not force it closed. If it does not shut easily, reopen and check the label alignment.
Step 6: Test the Label Feed
Squeeze the trigger a few times to ensure the labels feed correctly. The label should advance smoothly with each press, peeling cleanly from the backing paper.
If labels do not advance evenly or skip, reopen the gun and adjust the label path.
Common Mistakes to Avoid When Loading a Price Gun
Even experienced retail staff can run into issues if labels are loaded incorrectly. Common mistakes include:
-
Loading labels upside down
-
Skipping internal guide points
-
Using incompatible label sizes
-
Forcing the casing closed
Using the correct label size and following the threading path carefully reduces these problems.
Single Line vs Two Line Price Guns
While the basic loading process is similar, there are small differences between single line and two line price guns.
Single Line Price Guns
Typically used for simple pricing or promotional labels. These guns are quick to load and ideal for fast paced retail environments.
Two Line Price Guns
Used when displaying more information such as pricing plus dates or promotional text. These may require slightly more care when threading labels to ensure alignment.
Price Gun Land stocks both options, along with compatible label rolls designed for smooth feeding.
Click here to view the full price gun range
Best Practices for Ongoing Use
To keep your price gun working efficiently:
-
Store it in a clean, dry area
-
Replace label rolls before they fully run out
-
Check alignment if labels appear uneven
-
Clean adhesive residue regularly
Routine checks help extend the lifespan of your pricing gun and reduce downtime.
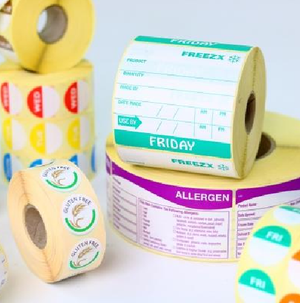
Choosing the Right Labels for Your Price Gun
Using the correct labels is just as important as loading the gun properly. Consider:
-
Label size compatibility
-
Adhesive strength for your products
-
Pre-printed vs blank labels
-
Quantity required for your workload
Price Gun Land offers a full range of pre-printed labels, including pricing, reduced, and date labels, as well as blank labels for custom use.
Final Thoughts
Learning how to load a price gun correctly is a small task that delivers big benefits. Proper loading reduces errors, saves time, and keeps your pricing consistent across the shop floor. With the right labels and equipment, your team can label products quickly and confidently, even during busy trading periods.
For reliable pricing guns, compatible labels, and expert retail labelling solutions, explore the full range available at Price Gun Land.